Wednesday, May 5, 2010

Number 2 "the tutorial returns" awesome lanterns


This is the greatest idea ever!! well at least right now.

What you will need:
2 Dollar Store metal baskets
pliers
some ribbon and scissors

Found these amazing color baskets at the dollar tree.
Ok first step ....take off the handles and put aside we will use them.


So you're baskets look like this. Then take your pliers and pull off the handle thingy. You only need to do one basket.


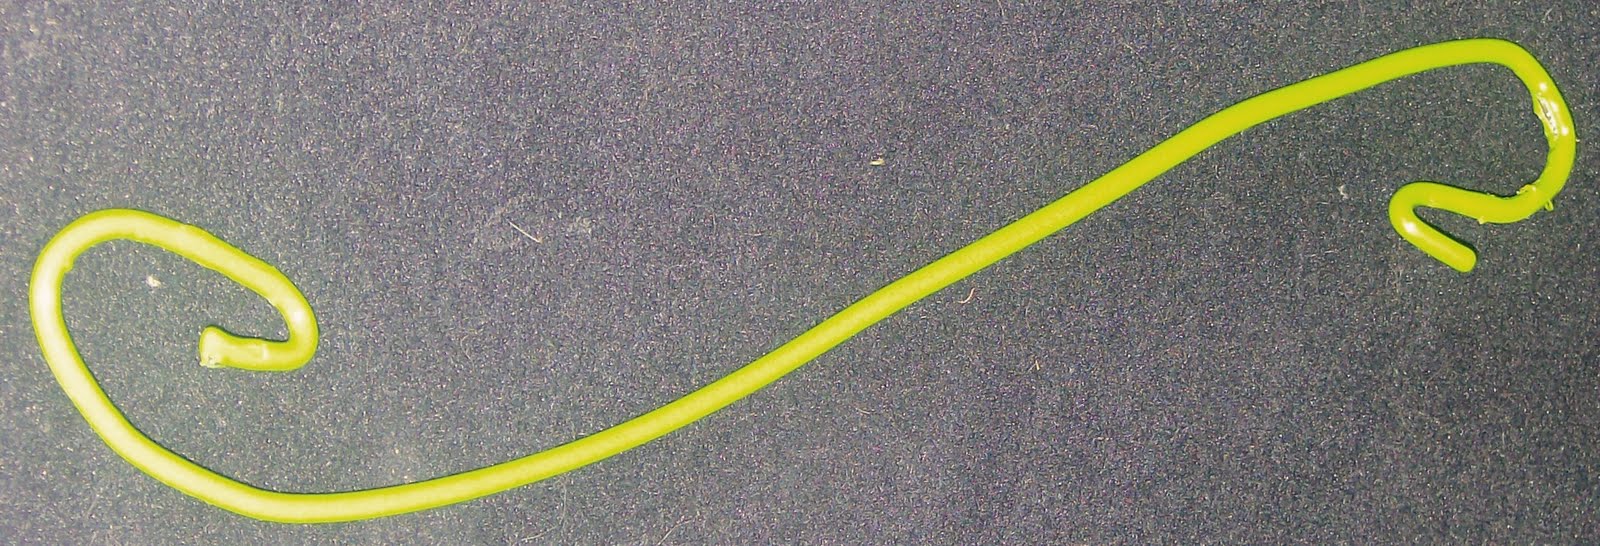
Then bend one of the handles to become the hook or not it's a choice thing. I just didn't want to waste a handle.


Take the other handle and insert it to the bottom of one basket. You can take the pliers and squeeze the gap so it doesn't fall out.


Then cut some pieces of ribbon to tie the two baskets together. I used four just to secure it. I have also (on other pieces) used three on one side, like a hinge and then a bow in the front. So I could access it for tea lights or better yet battery tea lights. They look awesome with many bunched together, or other colors. I so thought it would be a great lantern for party decorations, a funky purse or lunch pail (just add a button for a latch) and also a fun lamp shade by cutting a hole in the top and adding a light. I love looking at them and finding ways to use them for something other than a basket. I hope you will too.


My Very First Tuturial- Ducktape Flower

What you will need: 2 colors of ducktape (for petals and leaves/stem)
5 wire coat hangers (the cheaper the better
2 smaller hangers (for leaves if you want)
foam sheet (any color you choose for center)
1 dowel rod (any size you like as long as it's thick enough to handle the weight)
Also if you want it to stand on it's own, you will need a container (can, flowerpot, etc) and a way to hold it up (rocks, cement, plaster a paris)


First step bend hangers to look like petals. I use my foot to put in the middle and then grab the hook and just pull. After I have it shaped into a tear shape I bend until it looks more like a petal.
Then rip off a piece of tape. Do the ends first. You want to keep in straight lines on top but underneath it will be pieced together and a little wrinkly.

When you have completely covered the petal do the rest of them and then tape onto dowel with green duck tape. One petal at a time. Make sure you pull the tape tight so they are secure

After you have your petals all secure and taped on continue to cover the dowel rod with green ducktape.
Now to work on the center of the flower. Many things can be done to cover this up. I cut strips of foam, like a false eyelash and then rolled it and glued it to the exposed wood with clear glue. Then just shoved other jagged pieces in before it dried. You could use pipe cleaner as well. Or what ever idea you can come up with.
I wanted to be able to put these outside so I made sure they were weather proof. Not sure about wind but should survive rain and sun.
I got the hangers and foam at the dollar store and tape at Walmart so all together I think it cost under 10 dollars.
I'm going to use them for parties, like girly flower parties or maybe Alice in Wonderland party.
So that was my tutorial I home it was understandable and you give it a try. It was fun and easy and kids soooo love them.


Monday, April 19, 2010

LOOK!! I made a red one!!

Isn't it pretty, I love love the red with the bright green. I think I will try a tutioral on the next one. Not sure what color to pick, orange, neon pink, or purple. Hmmmmm any suggestions?


Tuesday, April 6, 2010

Emo tree in my guestroom


This is the "emo tree" as my kids have named it, in the guestroom. It is the smallest room in the house with one window. In my desire to have it more welcoming and delusions of making it seem better. I painted a monochromatic bare tree. In hindsight, I still love the tree, but it does feel dark and moody. Maybe the color choice is too cold. It was fun and I had other whimsical things in the room that balance the dark out. I am posting this because it is fixing to be covered with a Floridian landscape. My mom is going to be moving in with us and I want her to feel welcome and with a touch of her old home. I know it's a hard transfer from Florida to Washington so I'm hoping to bring the sun into her room. I will post pics after the transformation.

Monday, March 15, 2010

Giant Yellow Duck Tape flower

This is my lovely daughter posing with my new creation. It is a duck tape flower!!! Trumpets blare, flags unfold and followers weep. Hahahaaha I amuse myself. I have made these flowers before yet without the duck tape. I used wire coat hangers (for the petals) and a dowel rod for the stem. In the past I used stocking in different colors for the petals but this time I wanted something that would withstand the elements. So I thought to myself "what can withstand the elements?" and myself replied "why duck tape of course!" So with that declaration I hoped on down to Stuffmart and bought some yellow duck tape. I do plan on making a few more, in pink, orange, maybe turquoise and I soooo want to do one in plaid. I love them and hope to use them as props for upcoming birthday parties. Or just outside in my garden. :) I sooo can see throwing an Alice in Wonderland party with them. hmmmmm curious and curiouser.
Stay tuned I may plan on making a 6ft tall mushroom lamp. I have ideas just looking for a place to land.

Wednesday, December 23, 2009

my first diaper cake!!

This is my first diaper cake!! I have no clue how they are really made. I saw it a few months ago and just had to try one on. My niece has allowed me to throw her baby shower and it was the perfect opportunity to give it a try. I think it came out pretty good although my design wasn't as planned as it should of been. Yet I am pleased and it only cost me around 20 bucks. I hope she likes it. She will tell me she does whether she does or not.

All I did was roll the diapers and place rubber bands around the middle and then put them in groups of 7. I attached the groups together with more rubber bands until I got the desired shape and size. Then I wrapped with different ribbon and topped of with foam stickers and teddy bears. I used some chopsticks to hold the two layers together and used a chipped cake stand I found for a quarter. Yay for thriftiness!! Oh yeah I also used crinkle paper to top off the cake just to add a little sumtin sumtin.


Saturday, December 19, 2009

hey look Saturday again

hahaaha it's Saturday again and I am working on my nieces baby shower. I will have to add pics tomorrow. Today has been long, cold, and wet. I had to bring my son to the airport and I was sniffing all the way, from my cold and missing him.
I have totally failed at being crafty this Christmas. I have been sick the past week and lack energy to decorate. My husband and daughter bought a tree last Monday and it is still out in our garage! Alone in the dark with only the cats eyeing it to be there's. I am hoping they will rescue it tomorrow so we can bring life back into it. Part of me is afraid to bring it in as it might take vengeance on us for wasting it's best days. I keep having images of Charlie Brown's tree shedding it's needles and bending over from the weight of one ornament. I watch far too many cartoons.