Showing posts with label light fixture. Show all posts

Tuesday, October 16, 2012

Craaaaaash happens

Remember my awesome glow in the dark totally hip light?
Check last post for more description.
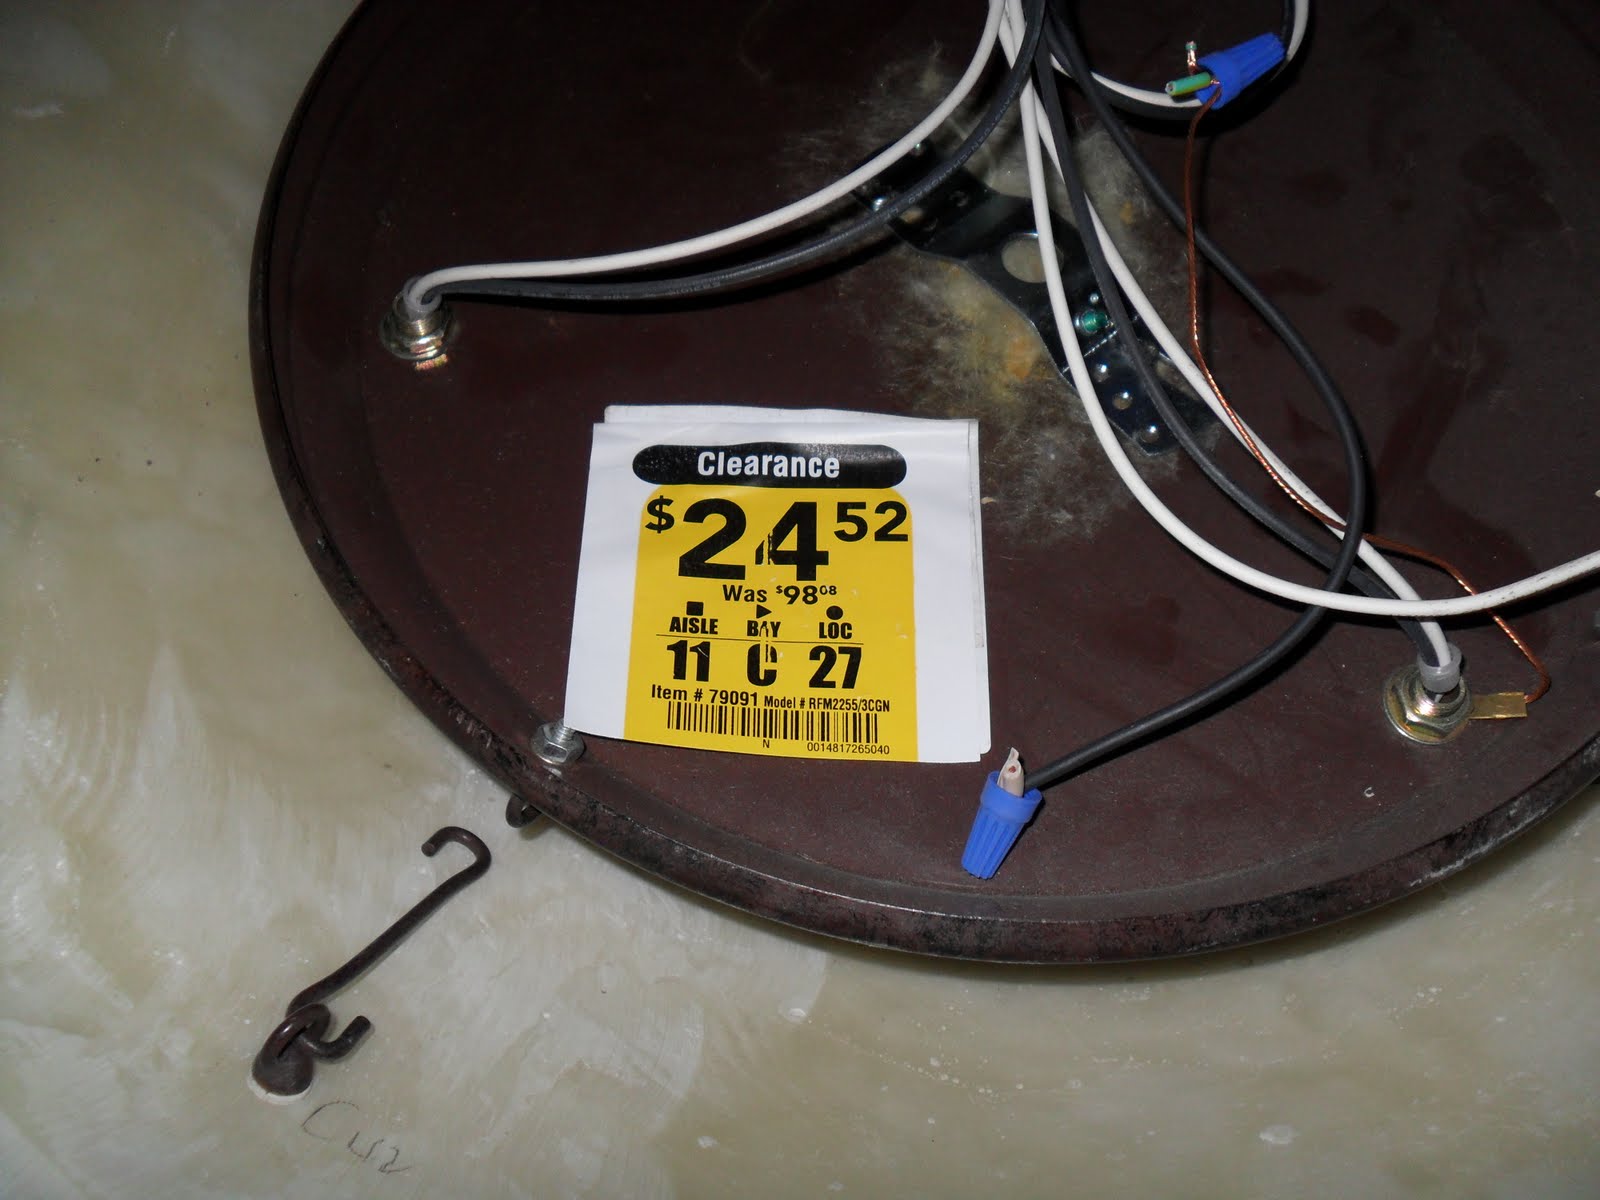
Seems it was too cool for the ceiling.  I heard a scream and found my daughter tweaked out by said falling light.  Seems I had not tighten it to the appropriate point of tightness. 
Yeah, no repairing that bad boy.  I searched for a while to find another glass globe thingy to redo the thing.  Yet it was a no go.  I gave up.   Yes I did, I knew I would not find another like it, it truly was one of a kind.
 
While wandering in Restore after Restore I gave up and just grabbed this cheap plentiful light diffuser so my daughter would not be blind in her room. 
Then I went to Walmart and there in the middle of accessories I had a brilliant idea.
 
How about I just liquid starch this cute bandanna on there and call it a fine day. 
So I did.  Yeah, just that easy and tadaaaa no longer an ordinary light. 
I also made sure it was fully tighten and secured.  (there were no injuries in the making of this post)
But don't you worry, I also came up with an idea to use the pieces of the other broken light.
 
It involves an embroidery hoop and some chopsticks 
So measure chopsticks and cut then glue to hoop with wood glue. 
Cool huh?  I used tape to support until glue dried and I also only did one hoop at a time.
This is not a quick project.
After it dried I gave it a few coats of spray paint and then pulled out my Goop. 
After removing the shades I re glued them to my new structure.
 
Seeing I did not have as many glasses I wished I had, I added some velum to the inside of my new drum shade. 
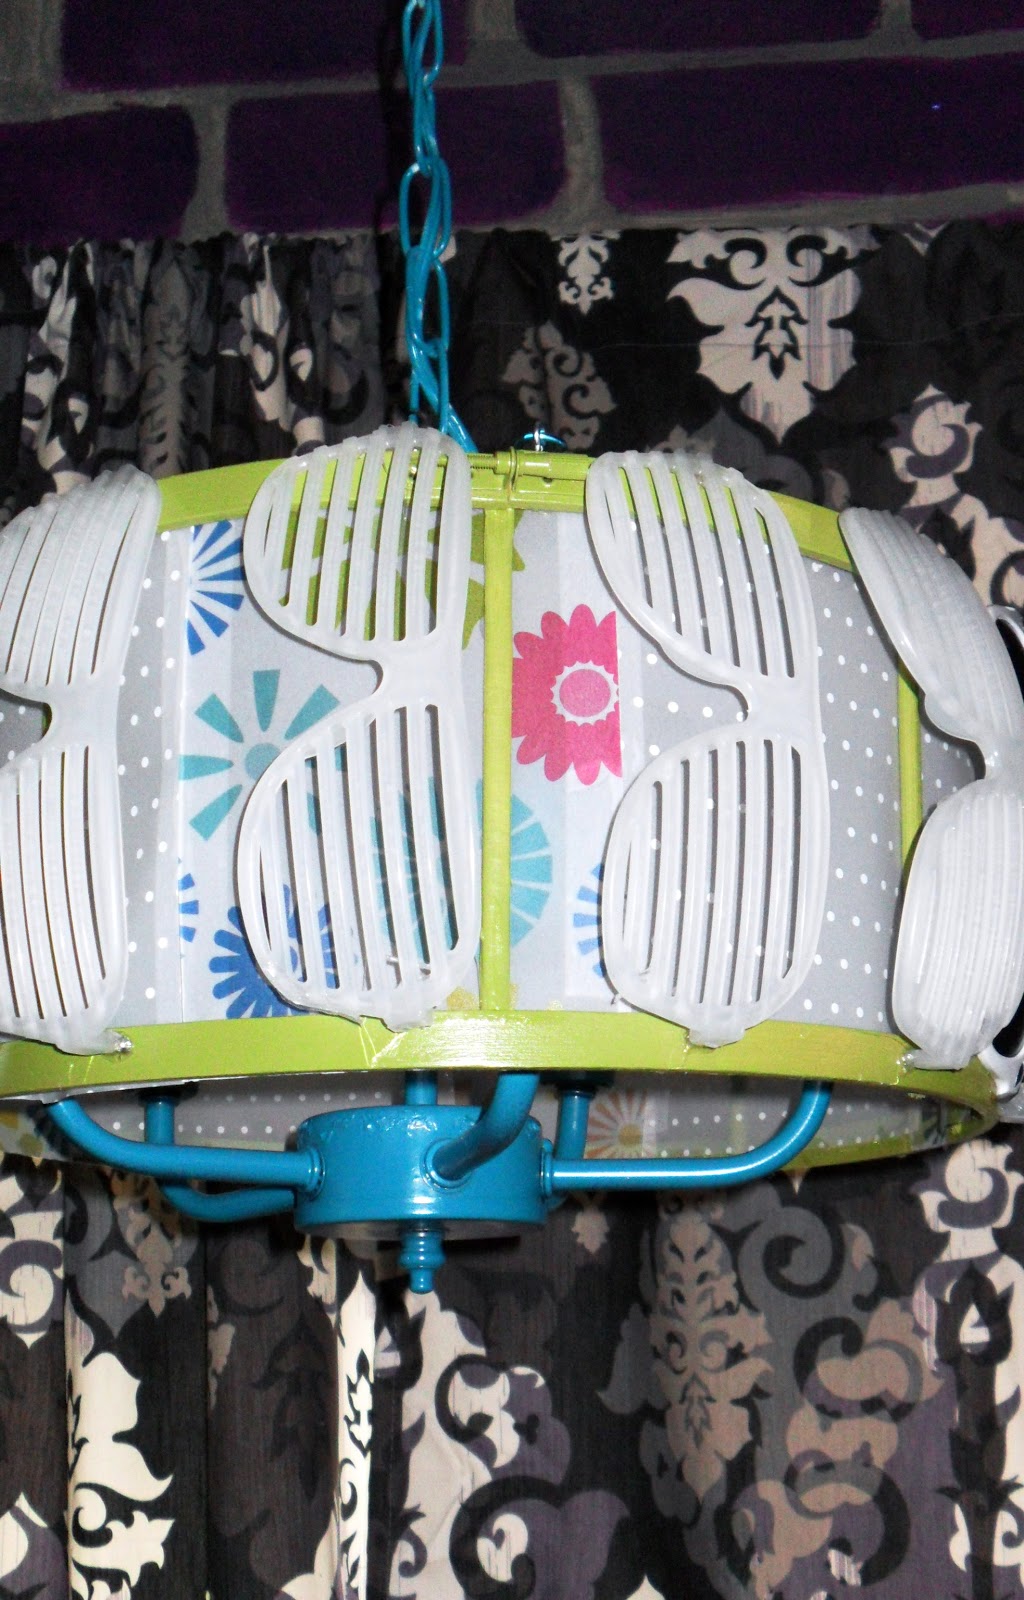
How does it hang there other than by sheer awesomeness?
I screwed some small eye bolts and used wire to cross thread through the little hoop on the chandelier.  Yes I rigged it.
 
So when crap happens pick up the broken pieces and double your production :)

Wednesday, October 3, 2012

Room's so bright it's gotta wear shades

In my daughter's room was the typical boob light.  Plus one of the sockets didn't work so needless to say it had to go.  I went looking for many options but she really didn't want anything normal or popular in her room. < Insert hipster here>   So off to the Restore for a vintage light fixture.
 I found this beauty for a whopping 2.50.  It was perfect for what I had in mind.
 
All I need now is a little goop.
It is pretty amazing.  So what am I going to be gluing together?
Well shades of course! 
Aren't they cool?
I can guarantee no one has a light fixture like this.
 
I broke off one of the ear bar thingies of each pair. 
A little tape to hold it until it dries.  Then I also glued the broken ear band thingies in between the other....you'll see. 
Hung, complete, and looking amazing! 
Do you know what the best part about this light is?
 
It's a light even when it's not :) 
Boom, glow in the dark light fixture TAAAAAA-DAAAAA!

Wednesday, July 6, 2011

yeah, I have a thing for lights

Sorry, this post has no amazing crafting ability.  Just amazing bargain deal.
This, sad to say, is my dining room light.  It hovers about 2 feet away from the center of my table.  If I had nothing but the table in there it probably would be centered.  I do not, I have a big ole shelf and my desk.  So the location of ugly, dated light fixture is prime real estate for head bonking.
Just tall people though, which maybe why it's taken me so long to take care of the problem, I'm not tall.
I did make attempts at incorporating it with curtains. 
I still hate it.....
Paying over a hundred dollars for another fixture, I hated even more.

Then low and behold!!!  I went to Lowes' and found this!!! 
Know what's even better than that price?

This one!!!! 
So now I don't even care if it looks great.  I am gleefully skipping down the isle with it balanced on my head.
Until someone saw me and gave me cart.  Probably thought I was off my meds.  Too bad I don't take any bwauhahahhahahhaaha 
I can do jumping jacks in there now.  Not that I would or would want to but I could.
I also got to teach a different teenager how to change out light fixtures.
Yes, I am training the next generation to not be stuck with ugly lights. 
My living room and dinning are one room so it was great to see it goes with my ceiling fan.
Even if ceiling fans are a decorating faux pas I don't care.  They save me from being extremely cranky on days like today.  Which is worth more than being fabulous!!

Saturday, January 15, 2011

Chandi redoux part one

A friend of my daughters, who is quite impassioned with all things French, came to the house, a while back.  Found out I had remade the chandelier in my daughter's room and, my daughter who is generous enough to volunteer my time, planned a project for me.
I was to make her a smaller one, with antique french features.  It needed to be gold.
It's soooooooo much easier to do white, or black, or red, or hot pink.  Oooooh hot pink sounds like fun.
Off to the ReStore to hopefully find something cheap.  I found this for 2 dollars.

Yeah, I know it's not tooo pretty but, that is why it was only 2 dollars.  The fact it was dirty was why they gave me a huge discount.

So after I removed the outer glass thingy, I had this simple and small chandi with horrible lights.  Good thing the lights are the easiest part. 
I had been hunting for crystals to hang but those things are like a dollar a piece (cheapest I could find)
I was at the ReStor again and happened upon these for like a dollar!!!!  They are plastic but at this point who cares. 
I do cruise the ReStore often looking for freebies.  Things that are chipped or missing pieces.  Then I take them apart and use the pieces.  This is my stash, I'm going to use the chain for the added support, since I am converting this to plug in and not hard wire. 
Hard wire, rewire, convert?!?!?!! sounds too complicated?  Nah, it really isn't.  They sell the kits for less than ten bucks.  Once you're use to it, then you can just buy what you need.  So you unscrew the top and you will find the gold wire  (two parts) is attached to a bunch of other wires.  Don't worry we are only switching the gold wire for another wire.  The other stuff stays the same.  So unwrap the electric tape and unscrew the wire nuts (the orange cappy things).  Untwist the wires to get the gold wire out or the wire that is sticking out of the top of light fixture. 
There are two main colors black and white.  NEVER mix the two.
See the little gold wire?  That's the one we are removing. 
Ok, I have misplaced my replacement wire so until I form a search and rescue team to get my back in case I get lost in my mess of an art center.  I have moved on to painting.  Screw the top back on and proceed to paint.  There is this stuff that you can buff on metal to change it's color, it's called Rub'n Buff.  I had planned on using it to get the gold look I was after but then I was rummaging in my supplies and found this.

Not even sure where I got it, but it's like powdered gold.  Then when added to gold paint you get this.
It looked like real liquid gold.  I was excited. 
I brushed it on, one coat at a time and was tickled with the results.  I then sprayed a thin coat of lacquer over it a few times. 
So much better than the brass.  Oh I did take some steel wool and sanded the shine off a bit but, be careful if you sand too much, you start making it shiny again.  So sand enough to rough it up, so the paint can stick to it.
I let it dry for a few days to really set.  Then I got sick :( booo........ so this is a part one.

Hopefully by next week I will have this completed.  This will be my fifth rewire, remix light fixture and it just keeps getting easier.  Got something butt ugly? I say make it beautiful or just plain fun.
These are my other transformations if ya wanna check it out.http://craftingoccurs.blogspot.com/2009/09/back-to-school-paris-style.html